

Start it
Terminal
design/acme/components/welcome/welcome.yaml, change the text and save. The preview
follows.
unoverse studio reopens the project from anywhere inside it, always on the current
version. There is nothing to update.
What you can author
Eight kinds of asset, in the order the tabs appear. Every one is a file in your own repository.Apps
Apps
Build a micro app: a small AI-powered interface, served to your users. A chat window, a
booking flow, a dashboard.An app owns its own states and layouts, and arranges components inside it.Lives in
design/<project>/apps/. How apps work.Templates
Templates
Build an arrangement with open sections a delivery fills: a shelf grid, an email, a
comparison page. You place what you know and leave open what the Agent decides.Lives in
design/<project>/templates/. How templates work.Components
Components
Build a card, a form, a document. Write it once and it renders in your web app, in ChatGPT
and in Claude. Change it, publish, and it is live everywhere with no rebuild.Lives in
design/<project>/components/. How components work.Atoms
Atoms
Build the buttons, headings and badges your components are made from. Compose these rather
than hand-rolling a shape the design system already ships.Lives in
design/<project>/atoms/. How components work.Styles
Styles
Set colour, type and spacing once. Nothing else carries a hex code, so a rebrand is one
change here instead of a sweep through every component.Lives in
design/<project>/styles/. Tokens in full.Skills
Skills
Tell an Agent how to behave, in plain markdown. What it should do, how it should answer,
and what it must never say.Lives in
prompts/skills/.Prompt Blocks
Prompt Blocks
Write a piece of a prompt once, then reference it wherever it is needed. The same wording
stops drifting across a dozen Agents.Lives in
prompts/blocks/.Nodes
Nodes
Give an Agent something new it can do: call an API, read a database, transform a payload.
Written as YAML, not code.The Nodes tab runs one against the real service with no platform running. Fill in the
settings, press Run, and the output appears beside them. Keys come from your own
.env
and are stored nowhere.Lives in nodes/. Building a node, and testing one.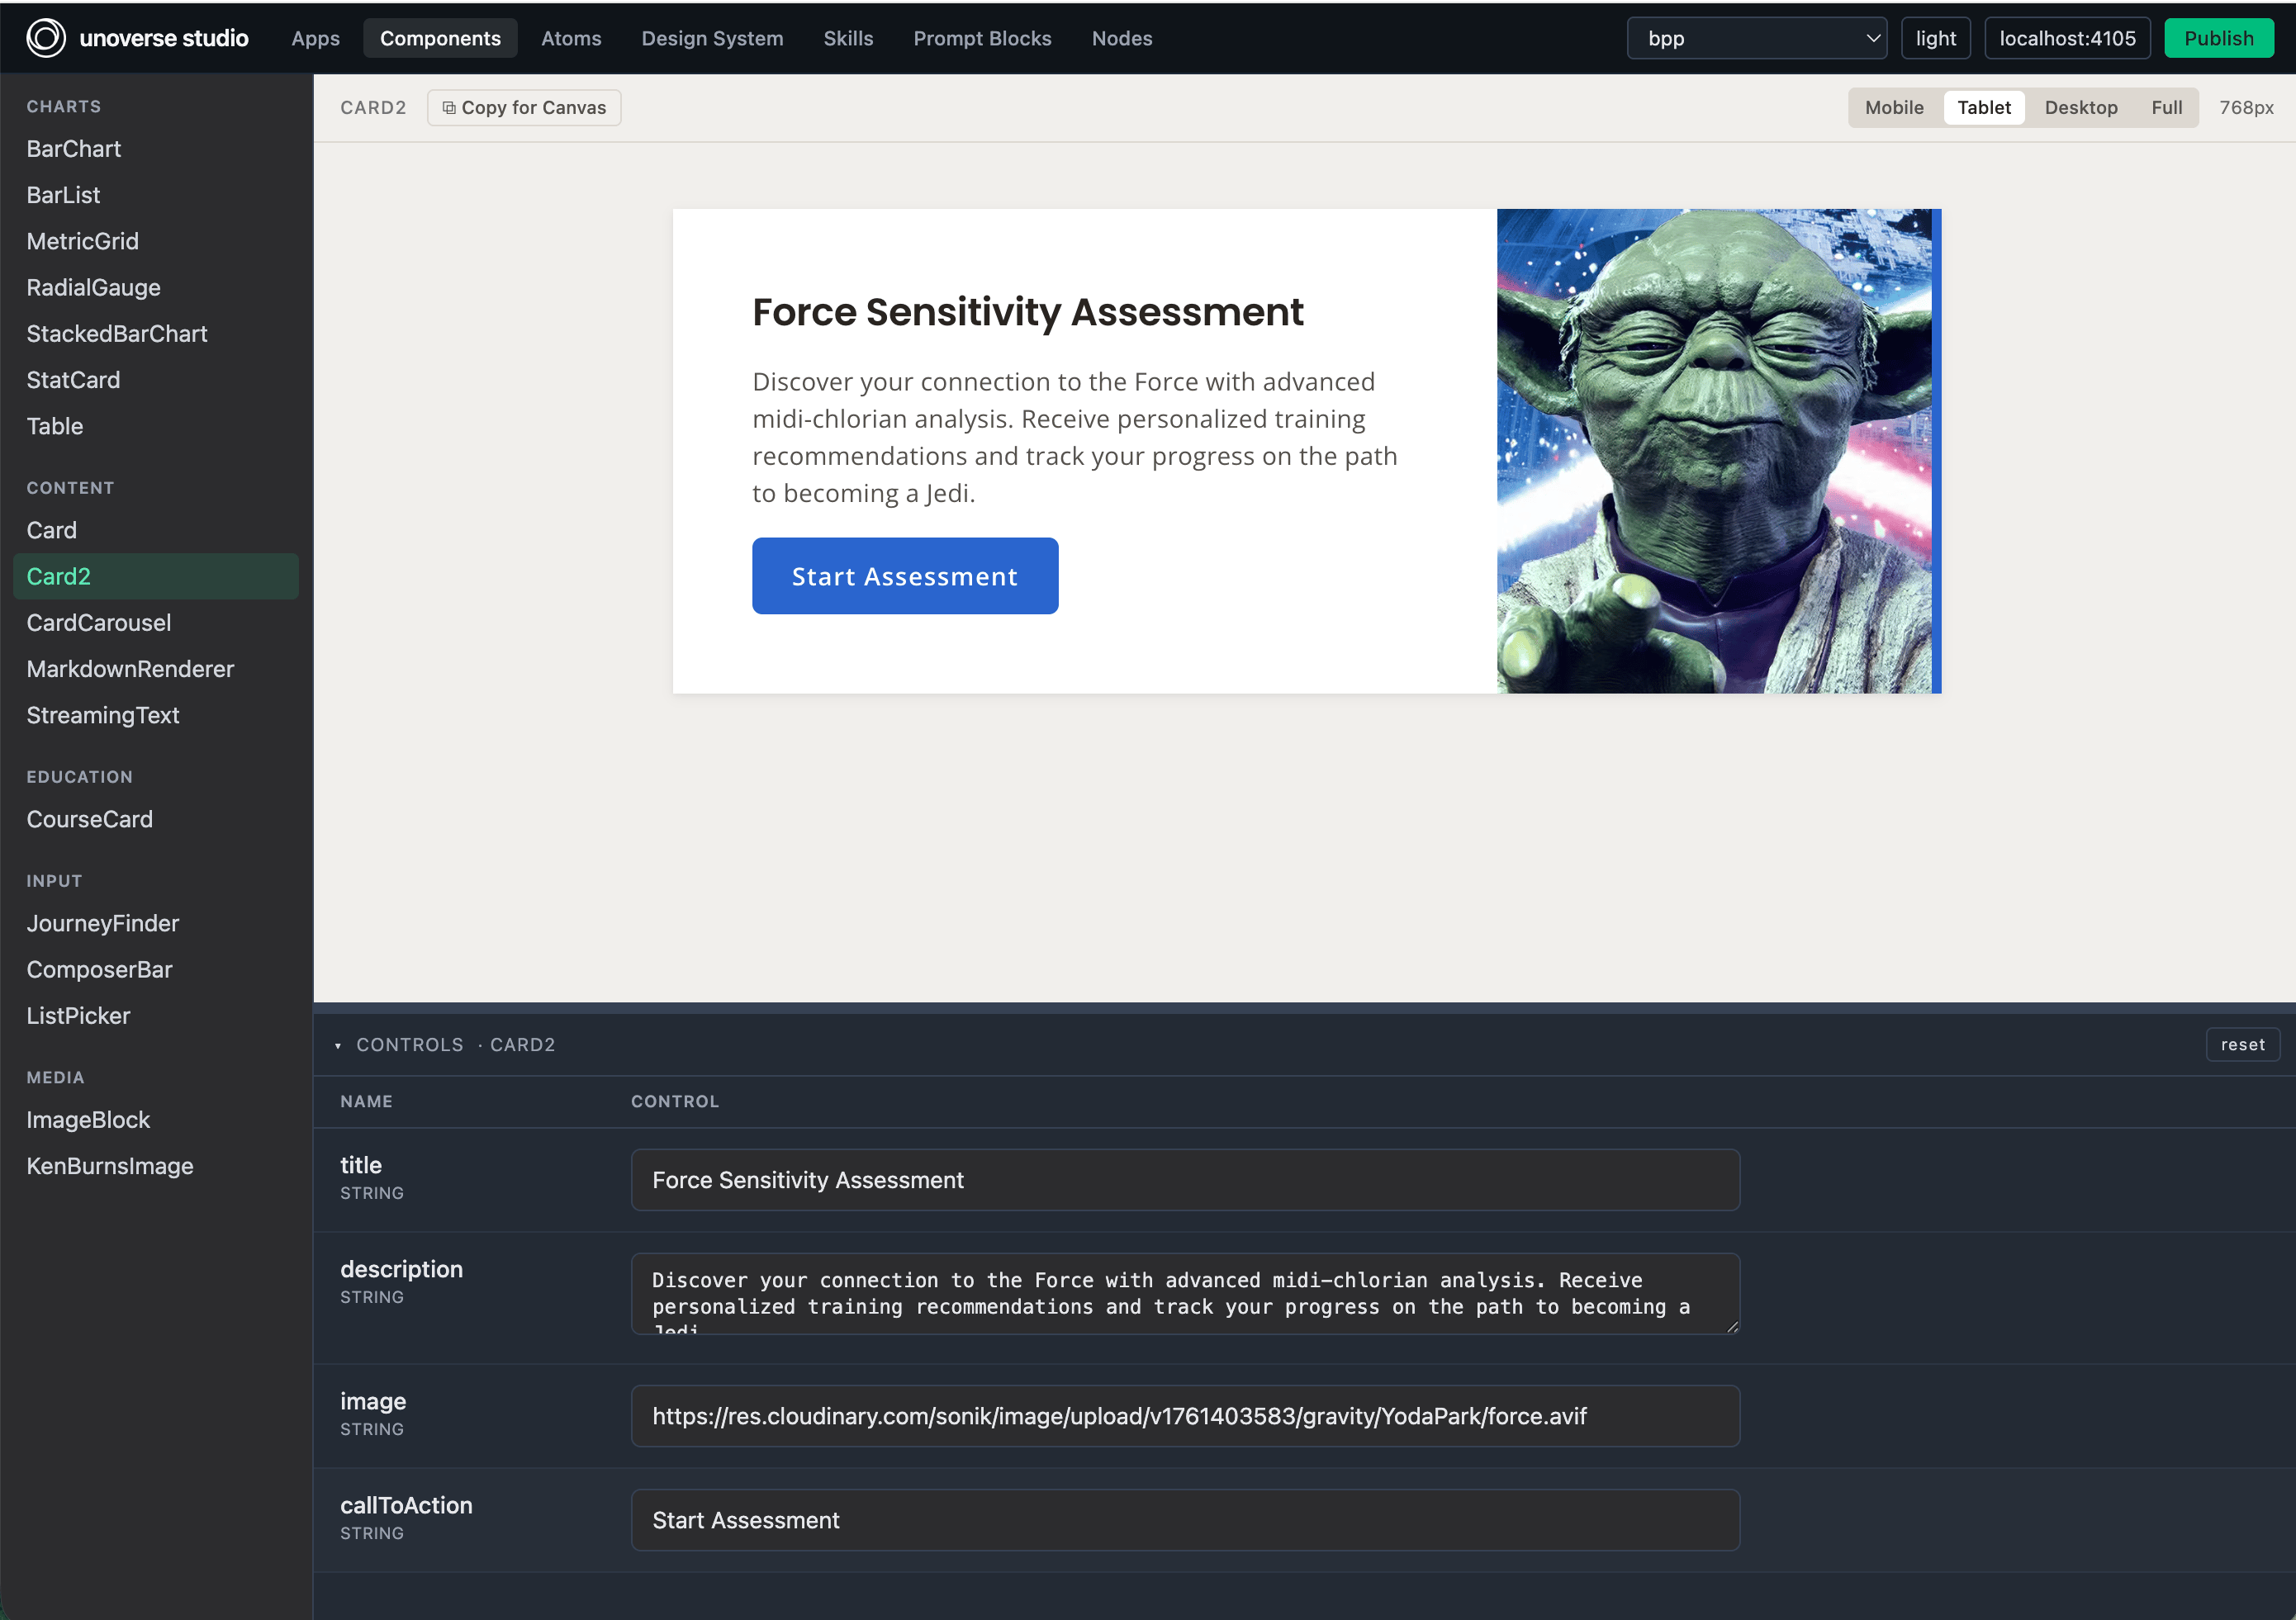
A component, its live preview at every size, and its controls.
The design system comes with it
You do not start from an empty screen. studio ships a full design system: atoms, components and a token foundation, all there to build on. It grows with every release.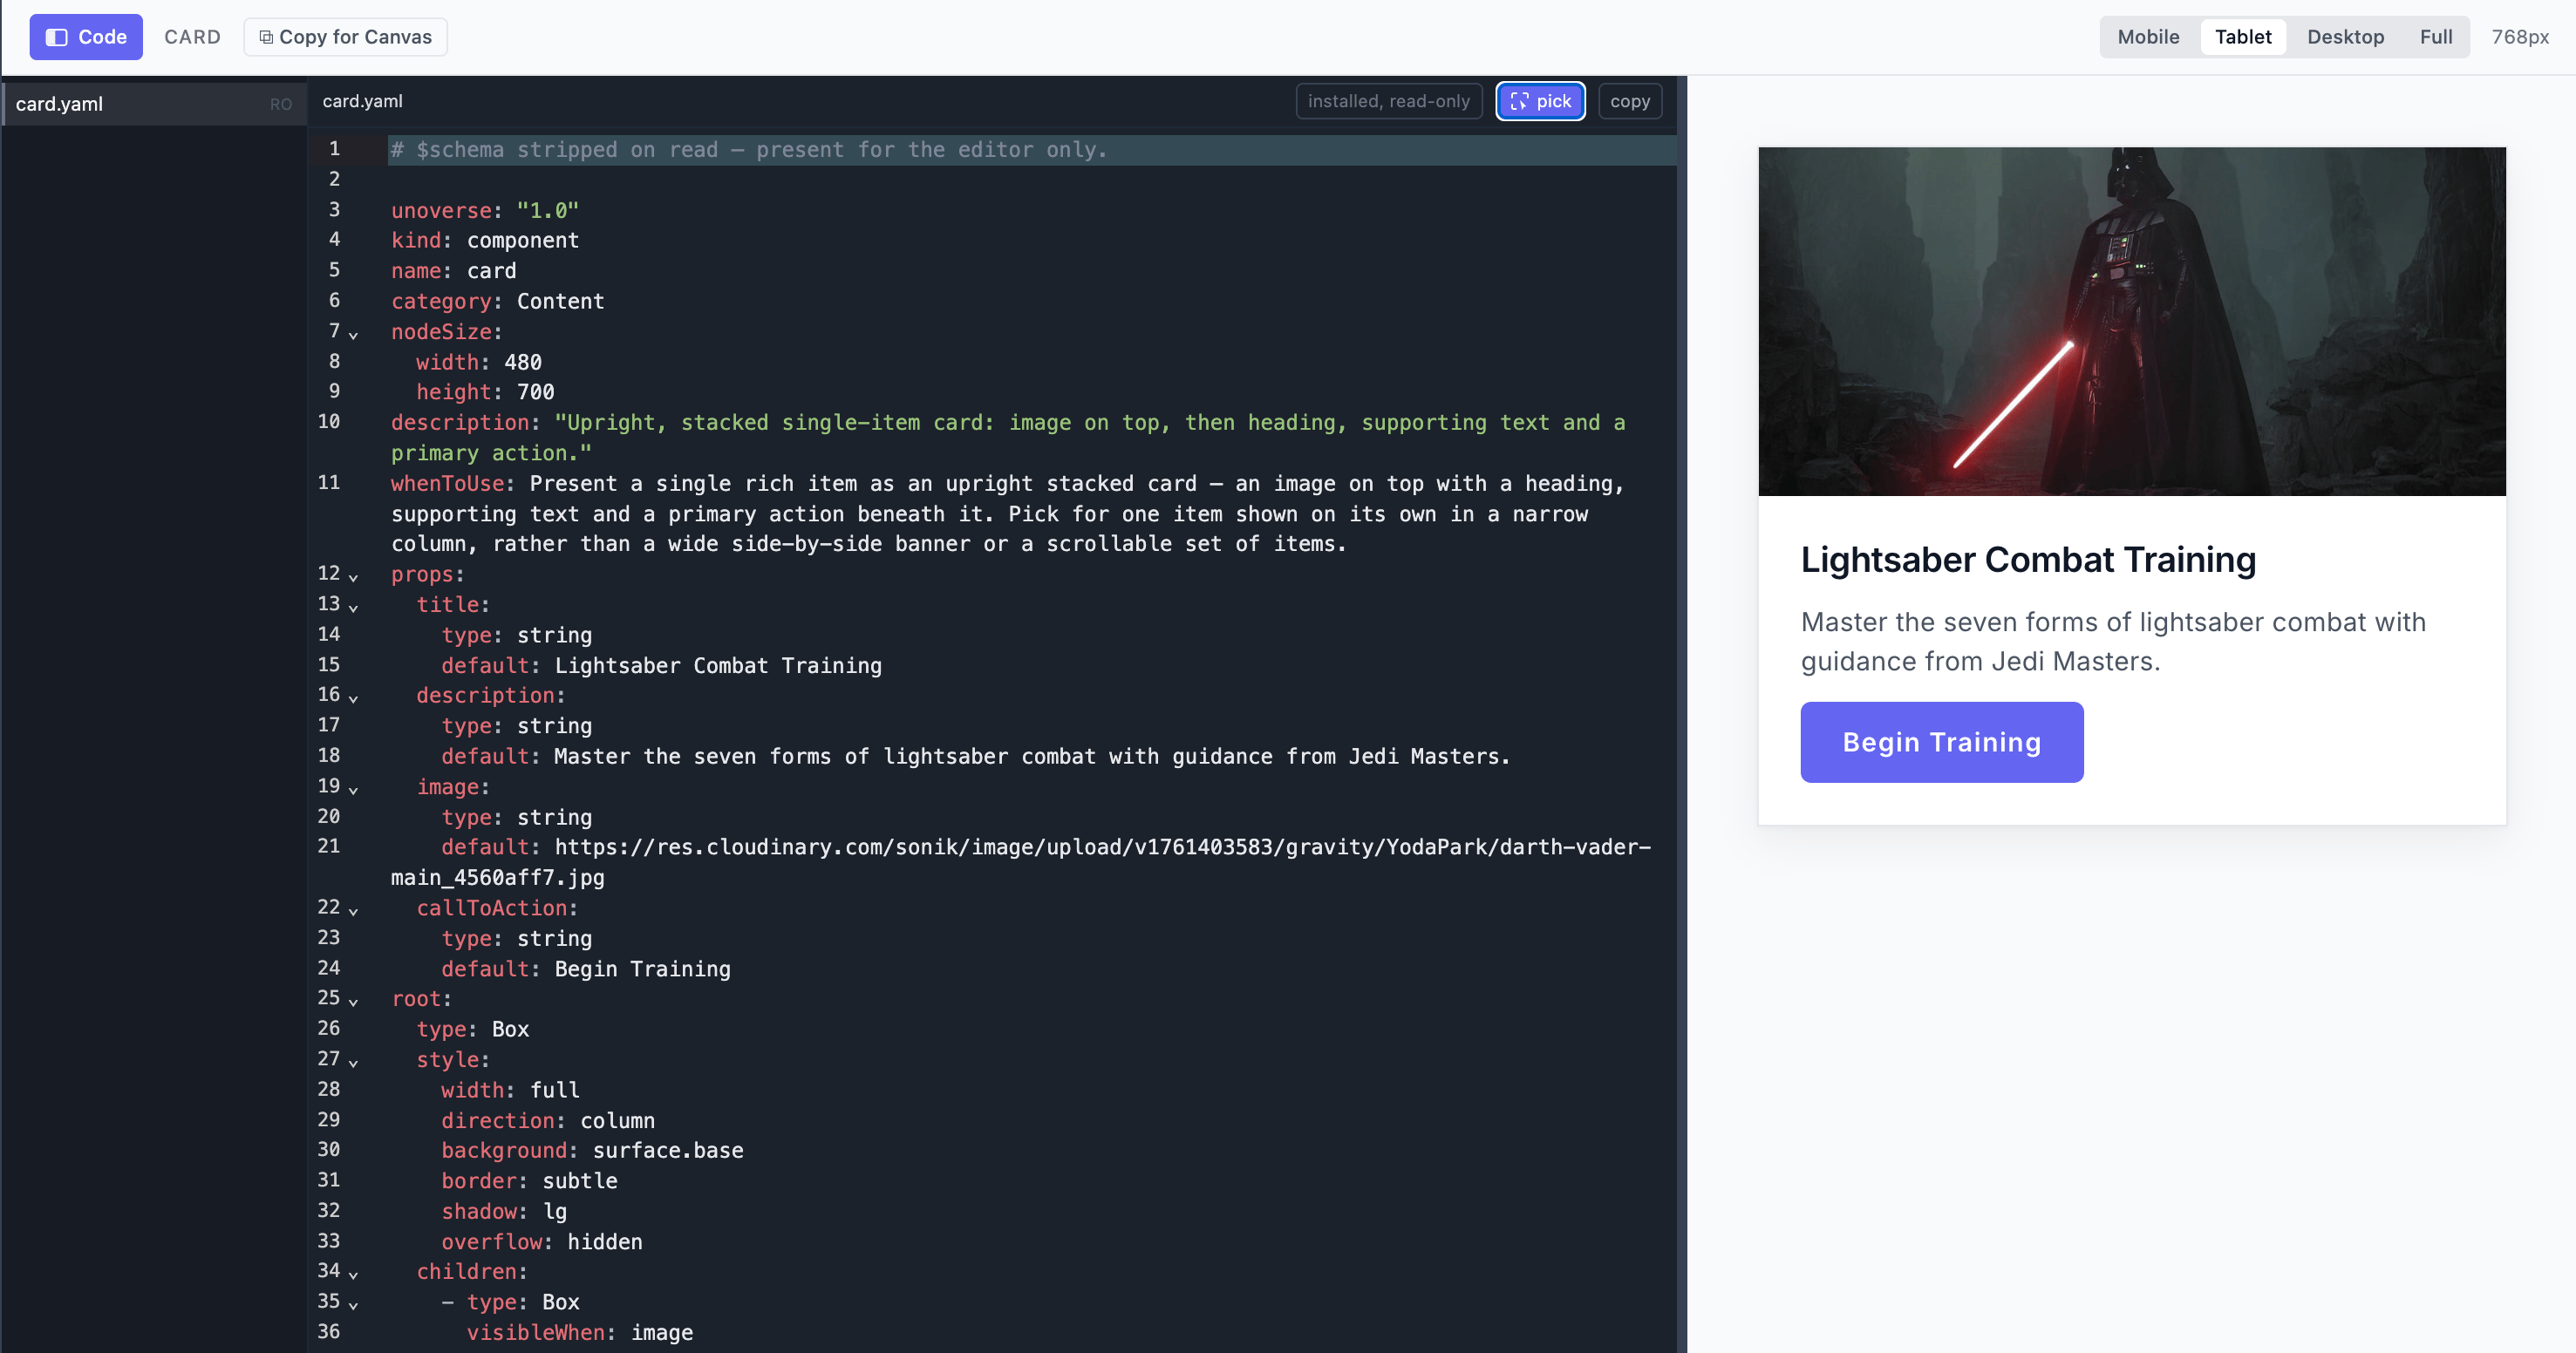
Every asset is a YAML file, with its live preview beside it.
Ship it
Publishing happens in your terminal, not in studio. There is no sign-in and no publish button in the app: your identity lives in the CLI.login keeps the session. The first deploy studio writes the address to unoverse.yaml,
so the whole team ships to the same universe, and after that it needs nothing else.
The order is the safety. Lint runs locally and blocks on any error, so you see the problem in
your terminal rather than as a server rejection. Then every item is compared against the
universe, and a plan lists what is new and what changes. Nothing leaves your machine until
you answer.
Set up your editor
Everything you author is validated against a schema as you type, so a typo or an unknown field is underlined rather than surfacing later. This works for.json out of the box. YAML needs one extension:
VS Code installs it from the Marketplace; Cursor and Windsurf install it from Open VSX.
Your workspace carries a
.vscode/settings.json that maps every file to its schema, which
is what the extension follows. To confirm it works, open a node’s node.yaml and delete a
required field such as type. A red underline should
appear within a second. Undo, and it clears.
Next steps
Design a component
How components, apps and tokens fit together, and how to build your own.
Create your first node
Build an integration as a few small YAML files, and run it against the real service.
Get the skills
Let your AI tooling author all of this for you.